

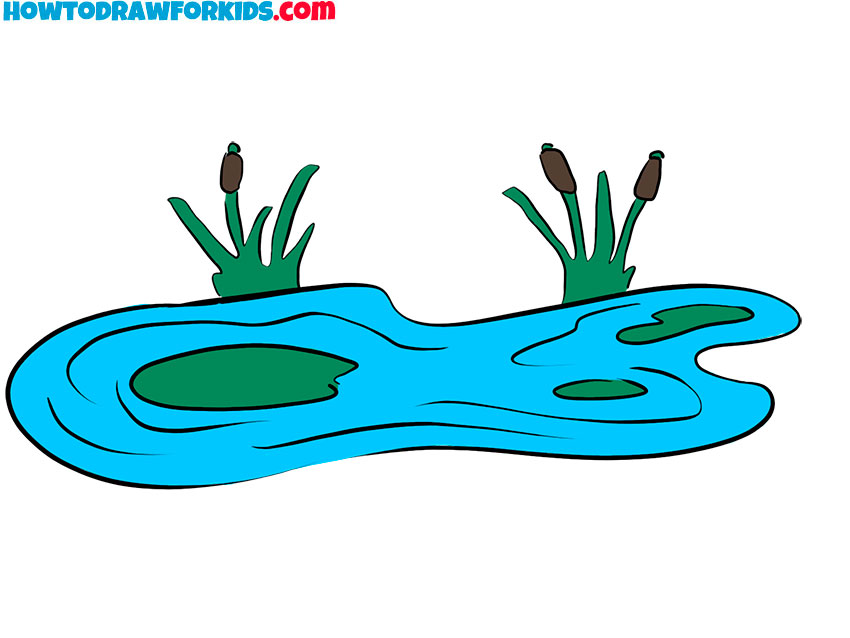
How To Draw A Realistic Pond
I have prepared a lesson for yous on how to describe a swimming. This guide is very simple and contains only nine easy steps.
Now I will show you how to depict a pond. This lesson will be very interesting and useful for yous. The acquired skills will definitely come in handy in the future when you lot want to describe a mural.
A pond is a small-scale body of water. A pond can be natural, that is, it has arisen in nature independently, and there is an artificial pond, which was created by human for some purpose.
Usually, the pond is intended for angling and storage of water supplies. This natural object has a shallow depth, and so reeds and other plants always abound around the pond. Plants can likewise be seen on the surface of the water. All this is present in the figure.
This tutorial is for beginner artists, then all the steps are very unproblematic. Uncomplicated elements are used here that you tin can draw without difficulty. Freehand lines are immune in this lesson, so it is not necessary to repeat all the elements exactly. The nigh important matter is to remember all the stages of drawing. Y'all volition like the event of the piece of work and you will gain confidence in your creativity.
Materials
- Pencil
- Paper
- Eraser
- Coloring supplies
Time needed:20 minutes.
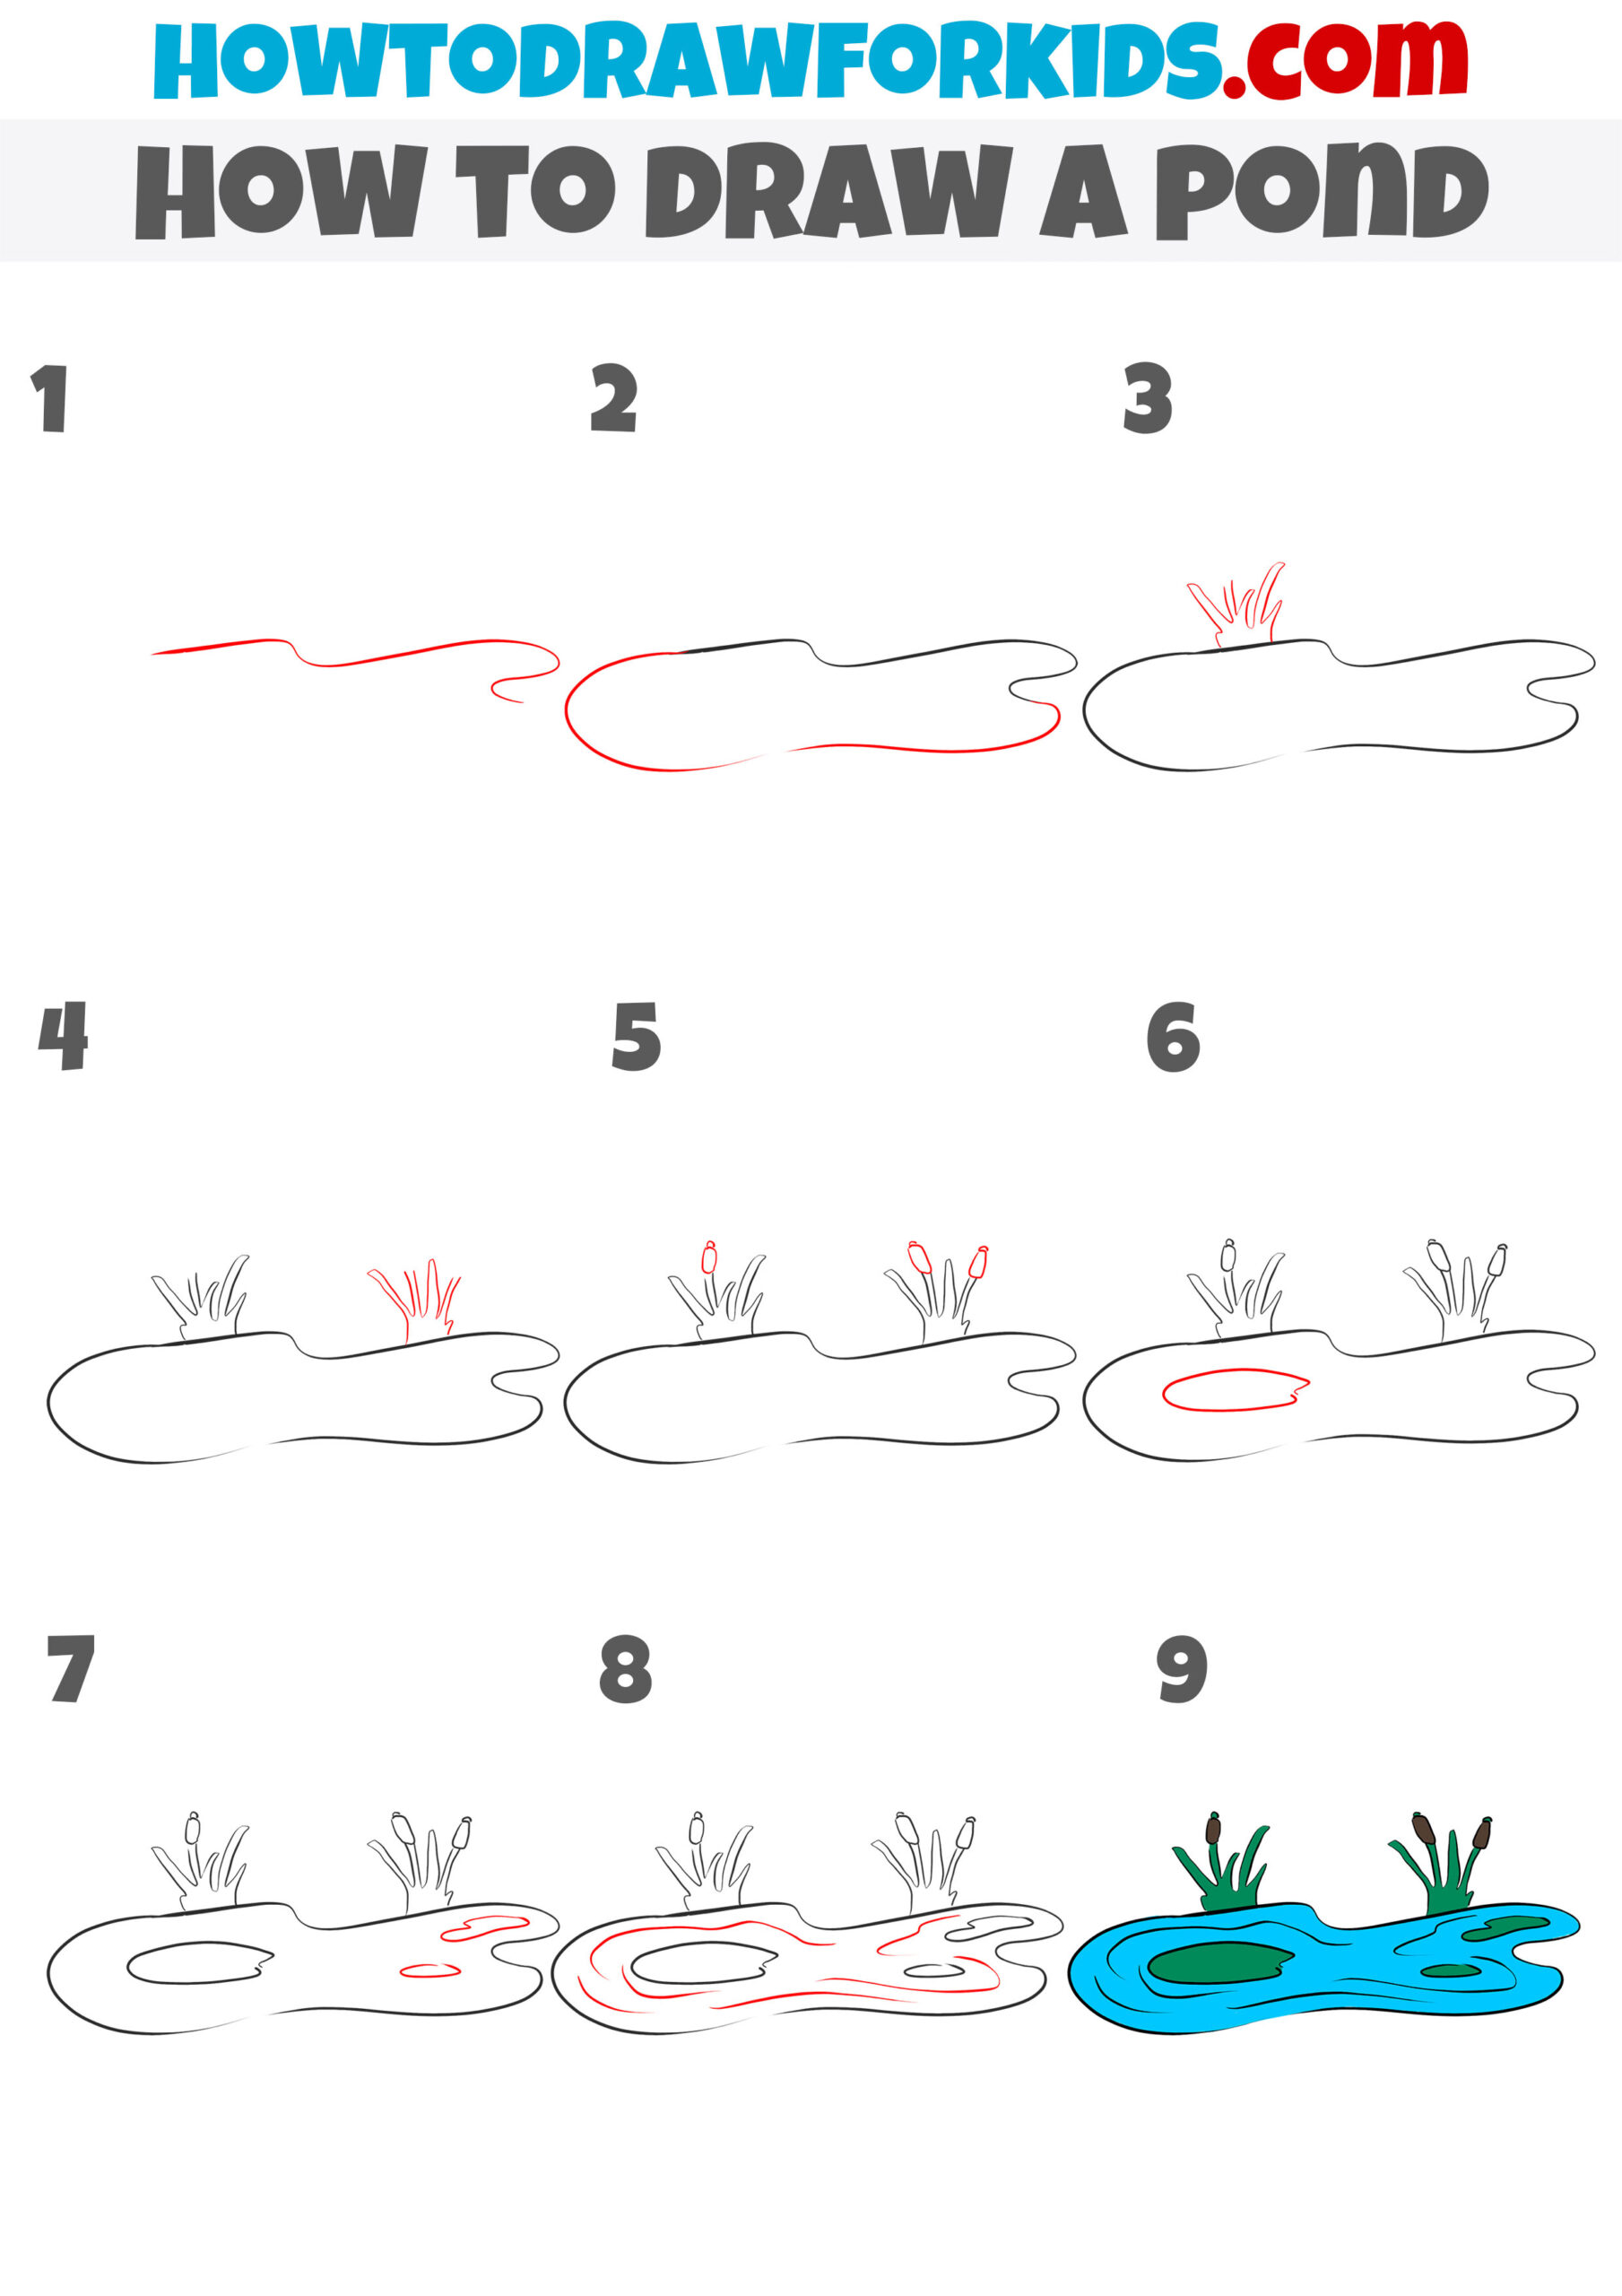
How to Draw a Pond
- Describe the outline of the swimming.
Sketch out a smoothen, freeform line.

- Describe the balance of the pond.
Add together a smooth line to make a closed path.

- Sketch out the reed bush.
Use curt, freehand lines to draw the pocket-size institute on the side of the pond.

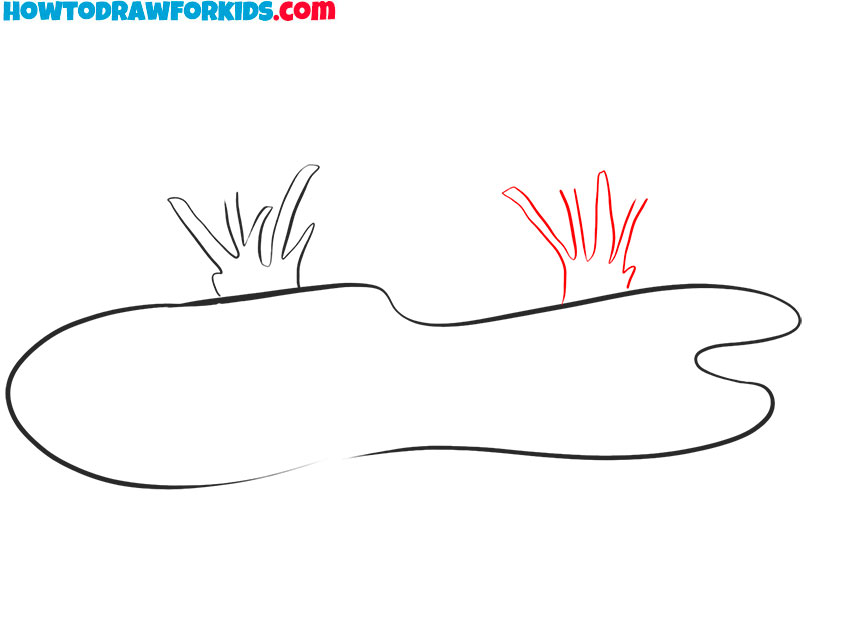
- Add another bush.
Footstep dorsum some space and draw the 2nd freeform bush.
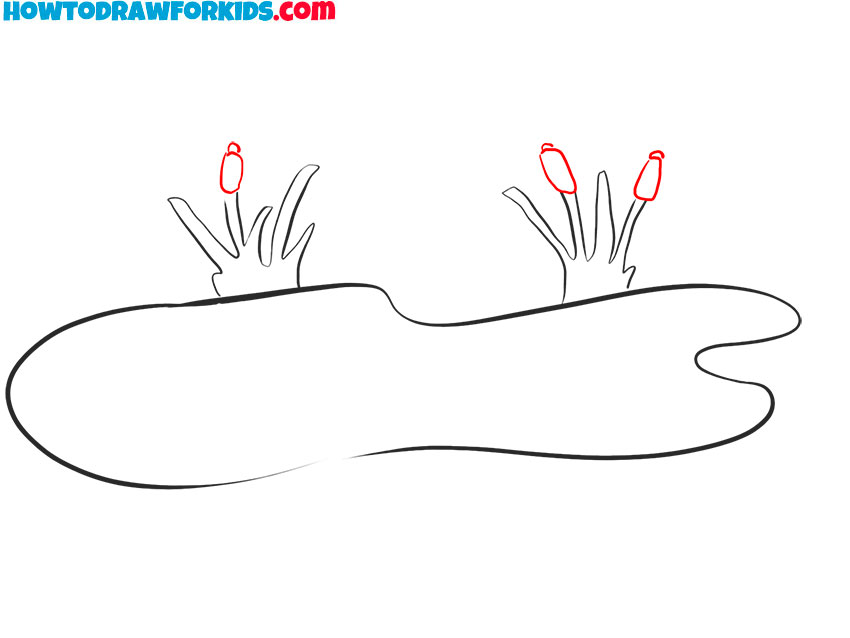
- Draw the reed inflorescence.
Sketch out reed inflorescence in the shape of an elongated oval on the bushes.
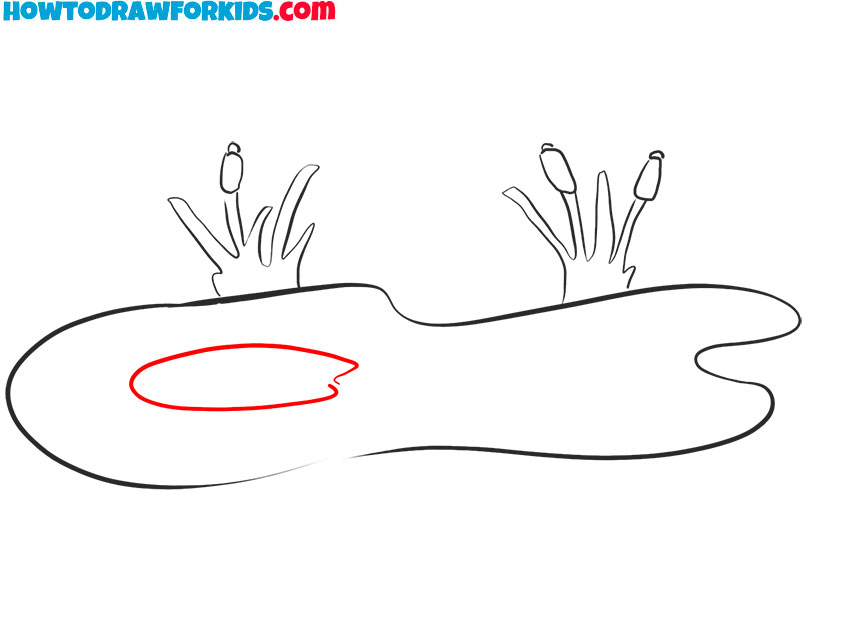
- Draw the wide leaf on the water.
Depict an irregular oval on the surface of the water.
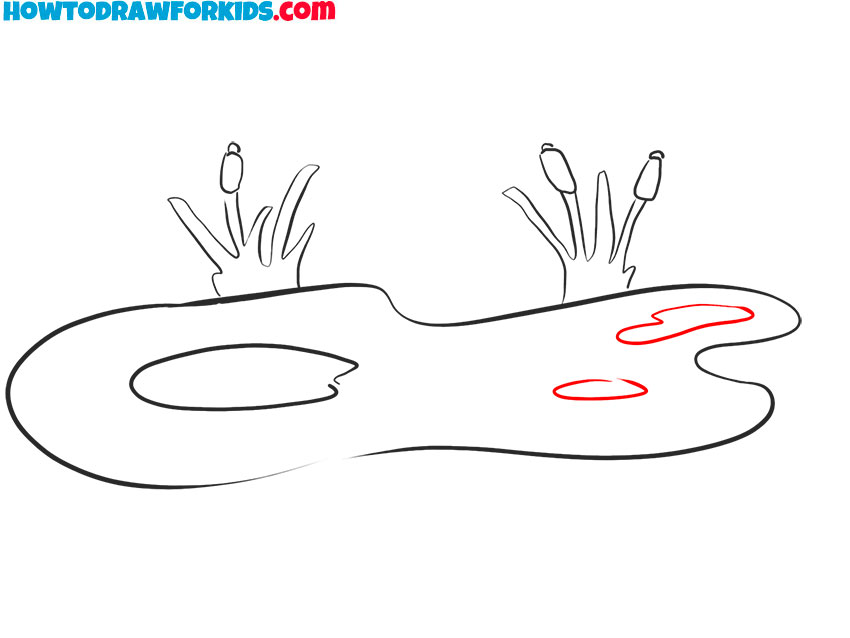
- Add together details.
Sketch out 2 more leaves to the surface of the h2o.
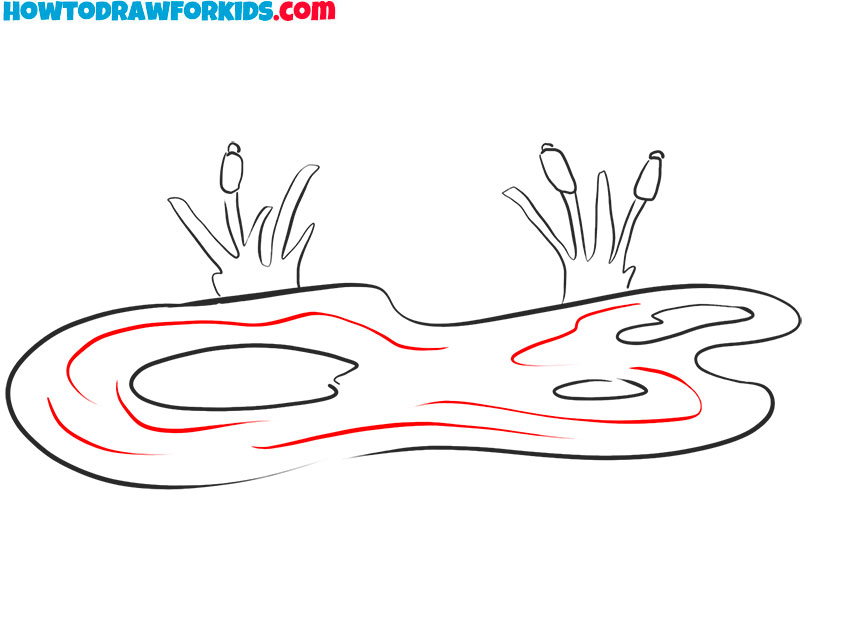
- Add more than details.
Depict some smooth lines to evidence the water surface.
- Color the cartoon.
Choose blue for water, green for plants, and dark-brown for reeds.
The lesson is over, and you tin evaluate the upshot of your work. At present you have learned how to describe a wildlife object and can use these skills in the hereafter. Try making the pond the centerpiece of your drawing and add some surroundings such equally shrubs, trees, sky. Apply your imagination and brand the drawing brighter and more than fulfilling. You tin can share your result in the comments.
Don't forget to download the PDF file that I have prepared peculiarly for your convenience. In that location you lot volition discover a simplified version of this guide and additional helpful content.

Source: https://howtodrawforkids.com/how-to-draw-a-pond/
Posted by: mahoneycattess.blogspot.com
0 Response to "How To Draw A Realistic Pond"
Post a Comment